Race car graphics[graphics?:graphics pattern] are essential elements of racing as well as useful marketing tools for teams. Racing is unique because race cars are not only part of the sport--they also create revenue for the team through sponsored logos. At a minimum, most sanctioning bodies require numbers on the sides and top of their entries. Generating these graphics takes skill and patience but ultimately will make your race car stand out on the track.
1.Get all the measurements for each graphic you are preparing. Accurately measure each section of the vehicle. Account for any "contingency" decals required by the sanctioning body the race car will participate in.
2.Use graphic design software such as Adobe Photoshop, Illustrator or InDesign to create the graphics. Because these software programs require training and familiarity, most race teams hire a graphic designer to create the graphics according to the needs of the sponsor and the team.
3.If you are obtaining a logo from a sponsor, be sure you have the file in the correct format and large enough to print[print?:printing image graphic cutting solution] in the size you need. Vector files are the most common file format but be sure to check with your printer on the required format and minimum size they prefer. This will ensure that your graphics are clear and high quality.
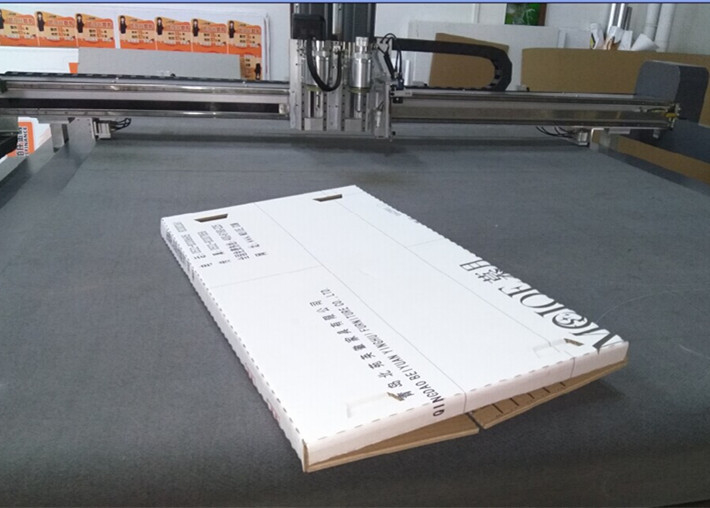
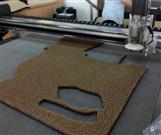
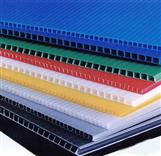
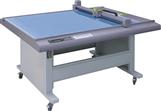
4.Once the design of the graphics is done, send them to a printer that has the capability to output graphics large enough for your race car. The most cost effective material is vinyl, which also applies easily. Your printed decal will come back sandwiched between sheets of paper[paper?:paper sample maker cutting machine] to protect both the adhesive backing and the printed side. The car graphics pattern cutting machine[cutting machine?:CUTCNC sample maker cutting machine] can help you cut the pringting, help you make the new style car sticker[sticker?:sticker].
5.Apply the printed decals to your race car. Start with a clean, dry surface. Spray the area with an adhesive fluid, which allows you to position the decal before setting it in. Remove the back of the vinyl, set in place and using your squeegee, press firmly from the center of the graphic outward. Let it dry, saturate the outside of the decal and carefully remove the sheet. Use your Exacto knife to pop any bubble that may appear.